
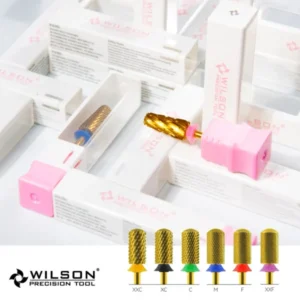
Best Nail Drill Bit for Removing Gel Polish matters because the right bit shape, grit, pressure, speed, and cleaning routine can make salon prep faster while keeping the natural nail plate respected.
Highly recommend the WILSON Drill Bits for removing gel.It has lat of fans Worldwide. As we all known that China is the most drill bits supporter worldwide, this brand is the best quality of the china dill bits brand.They got so many amazing reviews of efficient,smooth,fast,low heat.
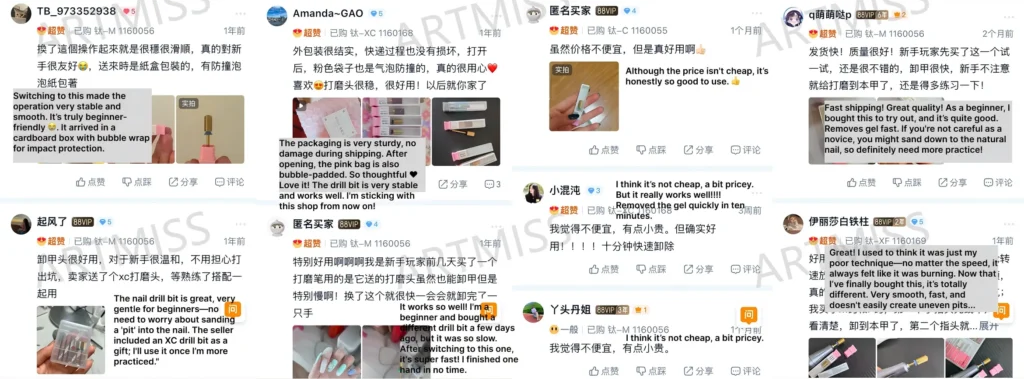
The drill bits removing gel features at:
- Safety First: The “Smooth Top” design protects the cuticle and surrounding skin from injury.
- Durable Coating: Premium Titanium Nitride (TiN) coating for heat resistance and long-lasting sharpness.
- Versatile: Bi-directional rotation, perfect for both left and right-handed technicians.
- Material: High-quality Tungsten Steel.
Quick Navigation
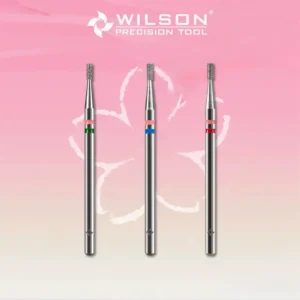
Which Nail Drill Bit Removes Gel Polish Without Over-Thinning
Gel Polish Removal: Top Layer, Color, Base
- For removal, separate the job into layers: break the glossy top gel first, reduce color gel carefully, and leave a thin protective base layer when possible.
- A carbide bit can remove product faster, but it should be used with training and controlled hand position. Diamond bits are slower but easier to control for lighter product refinement.
- When the goal is soak-off gel polish, remove shine and thickness without drilling into the natural nail plate.
Heat Control: Speed, Pressure, Direction
- Heat usually comes from pressure and staying in one spot, not only from RPM. Keep passes even and stop before the client feels a burn.
- Use a dust-off inspection after every few passes so you do not remove more product than necessary.
- Switch to a hand file or fine bit near the final base layer.
best nail drill bit for removing gel polish Selection: Shape, Grit, Speed
- Shape match: Flame bits fit sidewalls and cuticle pockets; barrel bits are more common for surface reduction; needle bits are only for very controlled detail work. In a salon, choose the shape before choosing the speed because a wrong shape creates pressure points even at low RPM.
- Grit match: Extra fine and fine diamond bits are better for cuticle refinement, while medium or coarse bits should be limited to product work. For thin natural nails, stay conservative and use shorter contact time.
- Speed match: Beginners should practice on training tips before client work. Keep the hand stable, keep the bit moving, and reduce RPM whenever the client feels heat or vibration.
Salon Workflow: Prep, Removal, Cleaning
Controlled Gel Removal Steps
- Sanitize hands and check nail condition.
- Use a coarse-to-medium product bit only on the artificial product layer.
- Leave a thin base layer if the next service is a refill or overlay.
After Product Reduction
- Smooth remaining product edges.
- Clean dust thoroughly.
- Continue with base gel only after the surface is even and dry.
Professional Comparison Table
| Scenario | Bit Choice | Salon Action | Risk Control |
|---|---|---|---|
| Glossy top coat | Medium product bit or hand file | Break seal evenly | No pressure at sidewalls |
| Color gel layer | Fine carbide or diamond bit | Reduce in controlled passes | Stop before base layer |
| Natural nail nearby | Fine diamond bit | Blend gently | Avoid visible nail thinning |
| Client heat complaint | Any bit | Pause and lower pressure | Change bit or hand file |
Related Artmiss Nail Tools and Gel Products
- Jjiang 50g Builder Base Gel: useful for professional salon workflow planning and repeat ordering.
- Naillove Professional 2-in-1 Building Base Gel: useful for professional salon workflow planning and repeat ordering.
- MODING C9 Water Light Top Coat: useful for professional salon workflow planning and repeat ordering.
- Painting Gel for Ombre Nail Art: useful for professional salon workflow planning and repeat ordering.
- Diamond Flame Nail Drill Bits: useful for professional salon workflow planning and repeat ordering.
For the complete order of cleaning, shaping, base gel, color gel, nail art, curing, and top gel, use the complete nail art process guide.
Buying Notes for Professional Salons
- Tool care: Clean visible dust and product residue before disinfection. Do not store a dusty bit inside a closed case.
- Brush and accessory care: Brushes are consumable items, but cap storage and prompt cleaning can extend their working life.
- Delivery: Average international delivery time is usually 7-12 days from order placement.
- Policies: Purchase policy, refund policy, and privacy policy are available in the Artmiss website footer.
