
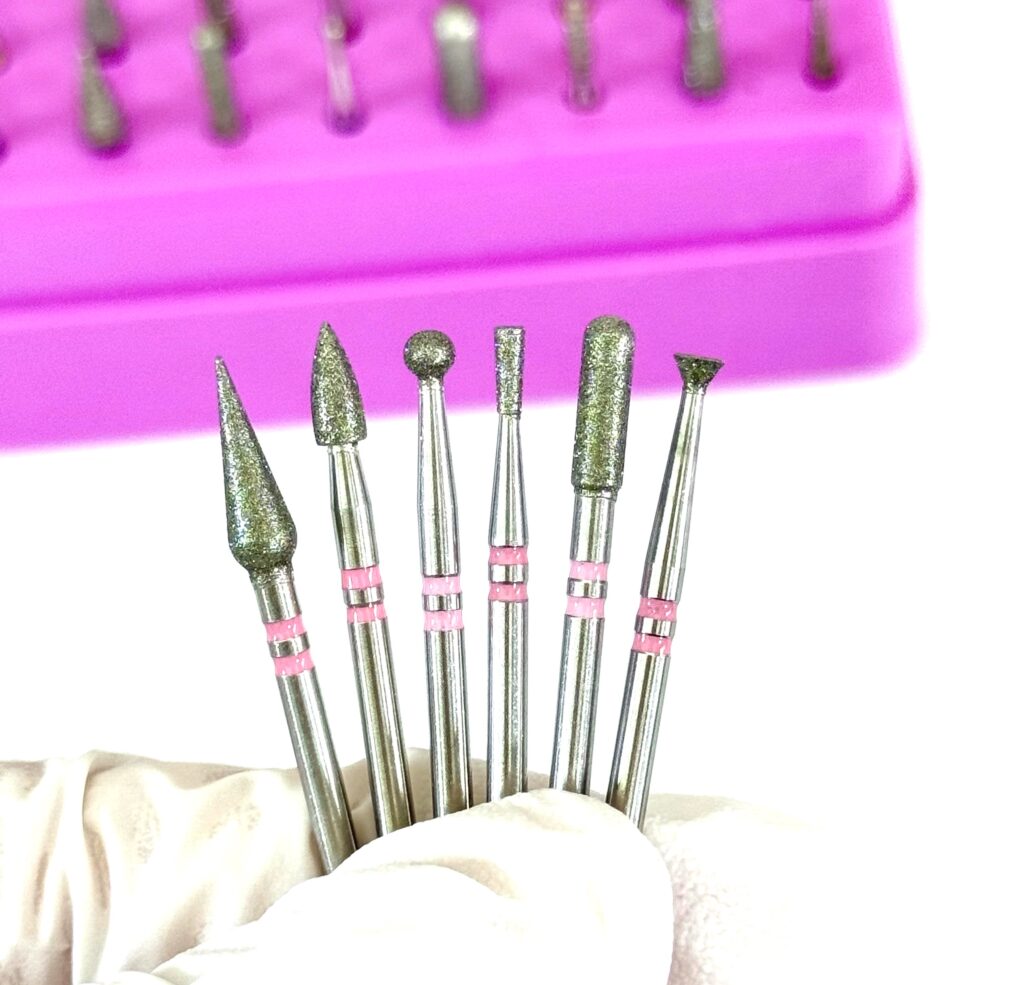

A clean gel manicure starts before base coat. This guide explains how to loosen adhered cuticle, open the working space around the proximal nail fold, lift residue, trim only what is safely raised, and lightly refine the natural nail plate without creating grooves or heat.
I am Amia, the operator of Artmiss. The workflow below follows the same tool sequence I use for precise salon prep: a steel pusher, flame bit, flat cone bit, cuticle nippers, and a mini sanding band. Work slowly, keep every movement visible, and stop immediately if the client feels pain, heat, or a sharp sensation.
Part One: Tools to Prepare Before Nail Prep
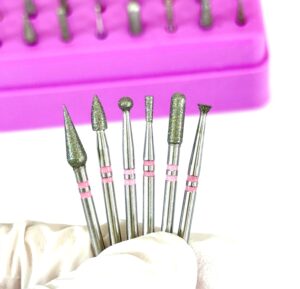
Set out every tool before touching the nail so you do not interrupt the workflow or reach across a dusty workstation.
| Tool | One-sentence purpose | What to look for |
|---|---|---|
| Steel cuticle pusher | Loosens adhered cuticle and gently moves it away from the nail plate. | A compact head that follows small nail curves without covering your view. |
| Electric nail drill | Provides controlled rotation for detailed cuticle and nail-plate preparation. | Reliable forward/reverse control and a speed display you understand. |
| Diamond flame bit | Separates loosened cuticle from the nail plate and opens a clean working pocket. | A slim, fine-grit flame profile with a smooth, undamaged tip. |
| Flat cone bit | Uses its flat end to lift the cuticle edge and remove white residue from the nail plate. | A compact flat end; avoid sharp or chipped edges. |
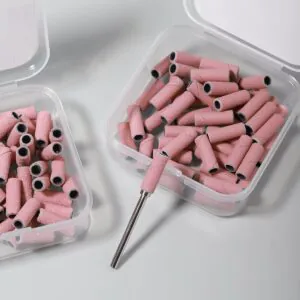
| Mini sanding band + mandrel | Lightly removes surface shine and prepares the natural nail for gel adhesion. | 180 grit for controlled prep or 240 grit for an even gentler finish. |
| Cuticle nippers | Trims only the thin, already lifted non-living cuticle edge. | Sharp, aligned blades with a small jaw that keeps the cutting line visible. |
| Soft dust brush | Clears filings frequently so the contact point and remaining residue stay visible. | Soft, clean bristles dedicated to nail dust. |
Hygiene setup: Clean and disinfect reusable metal tools according to their manufacturer and local salon rules. Use a fresh sanding band for each client, clean the workstation between services, and keep the dust brush clean.
Part Two: Nail Prep Steps and Key Techniques
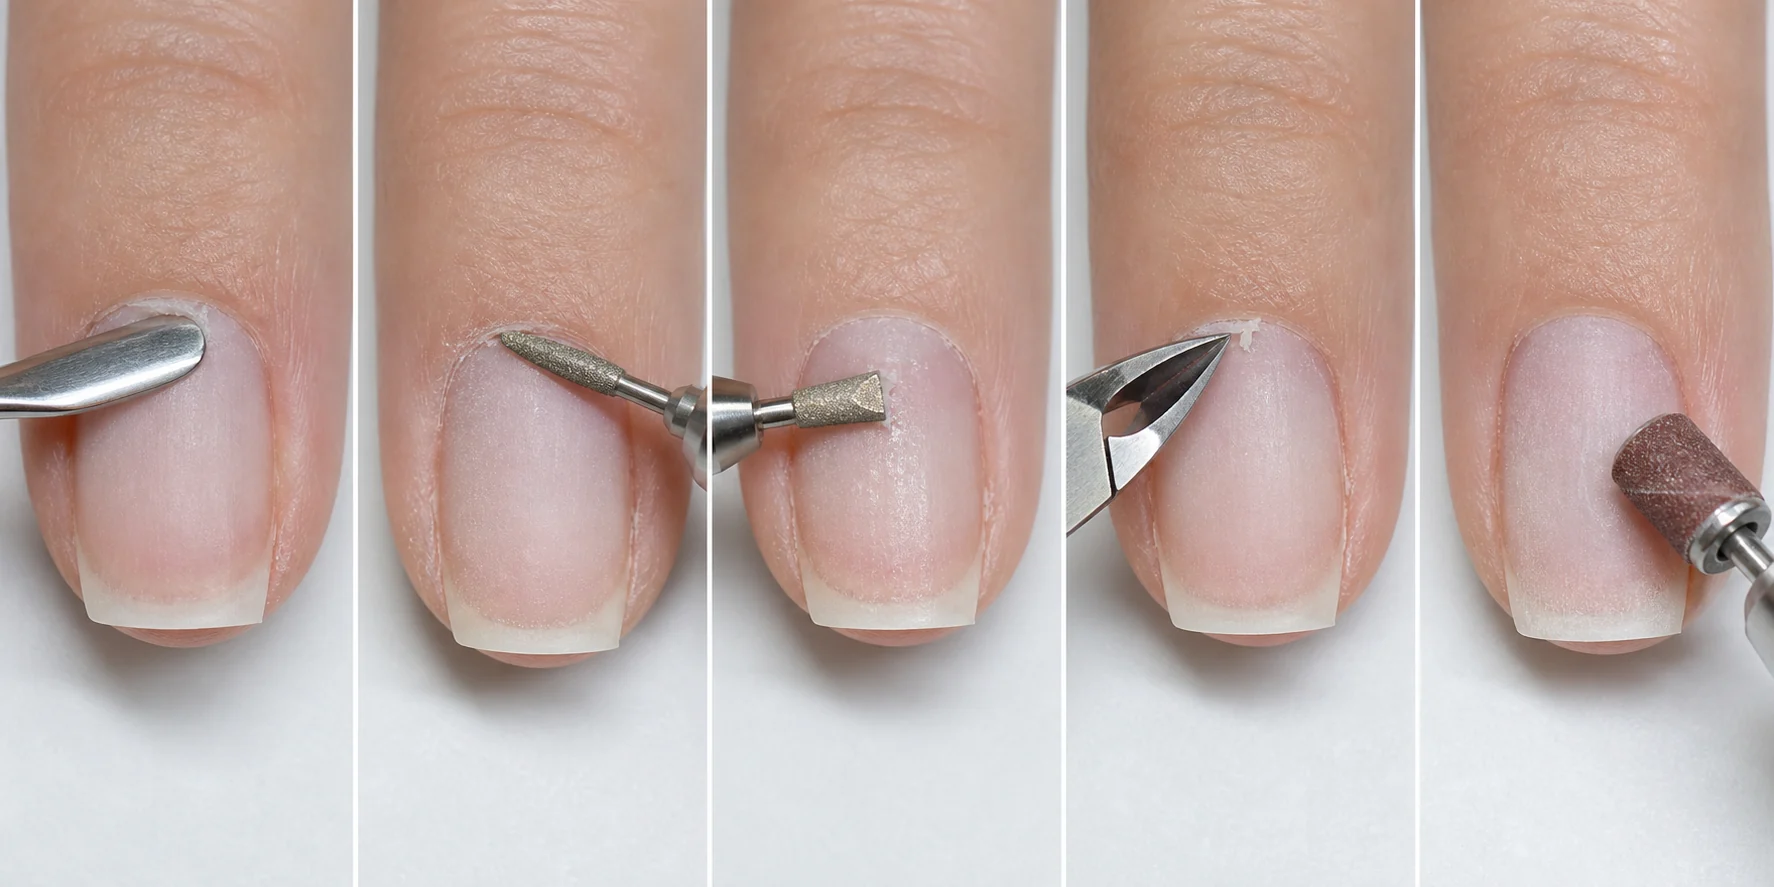
Push Back and Loosen the Cuticle With a Steel Pusher
Begin manually so you can feel resistance before using the e-file.
- Rest the pusher against the nail plate at approximately a 30-degree angle.
- Move toward the proximal nail fold with short, controlled strokes to loosen the adhered cuticle.
- If the cuticle is unusually dry and firm, dampen it lightly for the manual pushing step. Lift the edge slightly as you push instead of scraping flat and hard.
- Dry the nail completely before moving to the e-file or applying gel.
Open the Working Pocket With a Flame Bit
At this stage, the goal is separation—not aggressive removal or a perfectly polished fold.
- Fit a fine diamond flame bit and set the drill to approximately 15,000 RPM, provided that this is within the bit and machine manufacturer’s guidance.
- Use forward rotation to work from the centre toward the left side. Complete the left side of every nail on one hand.
- Switch to reverse rotation and work from the centre toward the right side, completing the other side of each nail.
- Brush away dust repeatedly so you can see the separation line and avoid passing over the same area unnecessarily.
Speed that is too high reduces your reaction time and may break skin; speed that is too low can encourage repeated pressure. Control, bit condition, machine torque, and hand stability matter as much as the number on the display.
Lift the Cuticle and Clean the Layered Residue
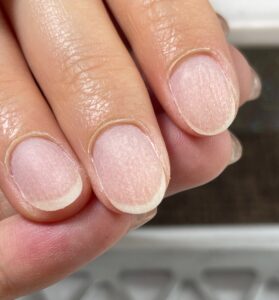
Once the edge is separated, change to a flat cone bit so the lifted tissue is easier to see and trim.
- Use the flat surface at the end of the cone bit—not its side edge or sharp corner.
- Approach from just in front of the loosened cuticle. Push forward gently while sliding toward the side.
- Work once in forward rotation and once in reverse so each side is approached with a controlled movement.
- Look for white, flaky residue between the lifted cuticle and nail plate. Remove this residue gradually while keeping the bit flat.
Trim Only the Lifted Cuticle Edge
A small, sharp jaw is easier for a beginner to position and makes the cutting line easier to observe.
- Start at one side and keep the blades parallel to the proximal nail fold.
- Point the blades along the lifted edge—not into the living fold.
- Let each new cut slightly overlap the previous cut line. This creates a smoother edge and reduces jagged tissue that may later become a hangnail.
- Remove only the thin, clearly lifted non-living tissue. If it is attached, sensitive, pink, or difficult to distinguish, leave it alone.
Lightly Refine the Nail Plate With a Mini Sanding Band
The final pass removes surface shine and remaining plate residue; it should not thin the natural nail.
- Fit a fresh 180- or 240-grit mini sanding band to the correct mandrel.
- Set the e-file to approximately 3,000–5,000 RPM. Do not exceed the manufacturer’s recommended range.
- Use feather-light, continuously moving strokes across the nail plate.
- Do not return repeatedly to the same spot. Sanding bands create heat quickly when held still.
- Brush away all dust, inspect the surface, then cleanse and dehydrate according to the gel system’s instructions before base coat.
Common Nail Prep Mistakes and Quick Corrections
| What you see or feel | Likely cause | Correction |
|---|---|---|
| The flame bit catches or jumps. | The bit is too upright, pressure is too heavy, or the working direction conflicts with rotation. | Lay the bit flatter, reduce pressure, stabilize the finger, and use forward/reverse for the appropriate side. |
| A groove appears near the back of the nail. | The flat cone bit was stood upright or its corner contacted the plate. | Stop working that area; keep the bit flat on future passes and use the end surface only. |
| The client feels heat during sanding. | The band stayed in one place, pressure was too heavy, or speed was too high. | Stop, allow the nail to cool, lower speed and pressure, and keep the next pass moving. |
| The trimmed edge looks jagged. | The nippers made disconnected cuts or the blades pointed into the fold. | Keep the blades parallel and let each small cut overlap the previous cutting line. |
| Gel later lifts at the base. | Cuticle residue, dust, moisture, oil, or gel touching the skin may remain. | Inspect under good light, remove dust, dry thoroughly, cleanse as directed, and keep gel off the skin. |
What a Clean Gel-Manicure Prep Should Look Like
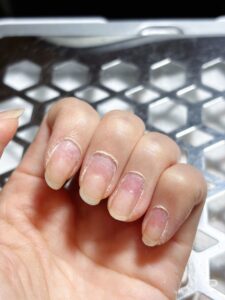
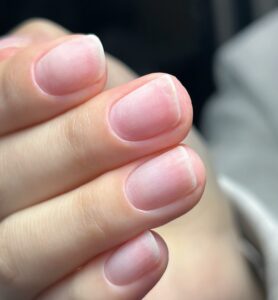
The finished nail should look tidy, evenly matte, dust-free, and free from visible cuticle residue on the nail plate. The surrounding skin should remain comfortable and intact. A beginner does not need to pursue an extreme “perfect pocket”; consistent, gentle preparation is more valuable than aggressive removal.
Practice the hand position, forward/reverse sequence, and dust-clearing rhythm before trying to work faster. For another concise overview, read the related Professional Cuticle Preparation Guide.
References
- U.S. Food and Drug Administration. Nail Care Products.
- U.S. Occupational Safety and Health Administration. Health Hazards in Nail Salons.
- U.S. Occupational Safety and Health Administration. Stay Healthy and Safe While Giving Manicures and Pedicures.
- U.S. Centers for Disease Control and Prevention. Nail Technicians: Workplace Safety and Health.
This article is educational salon guidance, not medical advice. Follow tool-manufacturer instructions, local licensing and infection-control requirements, and seek qualified care for nail disease, persistent pain, inflammation, or suspected infection.
