
1. Amia’s Personal Recommendation
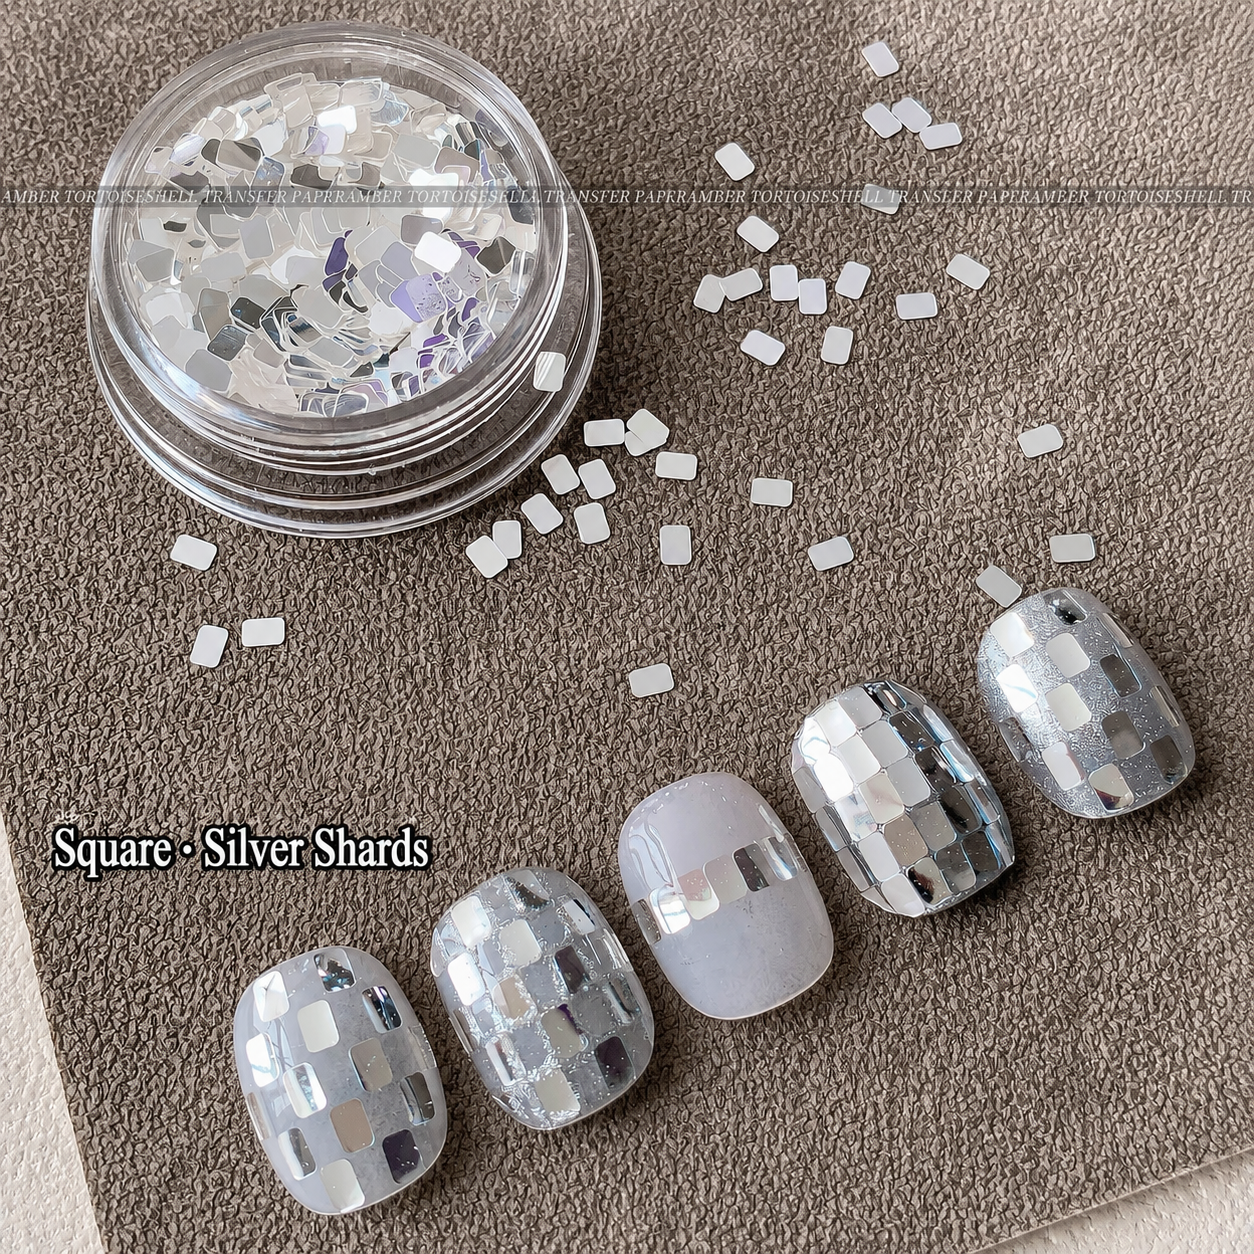
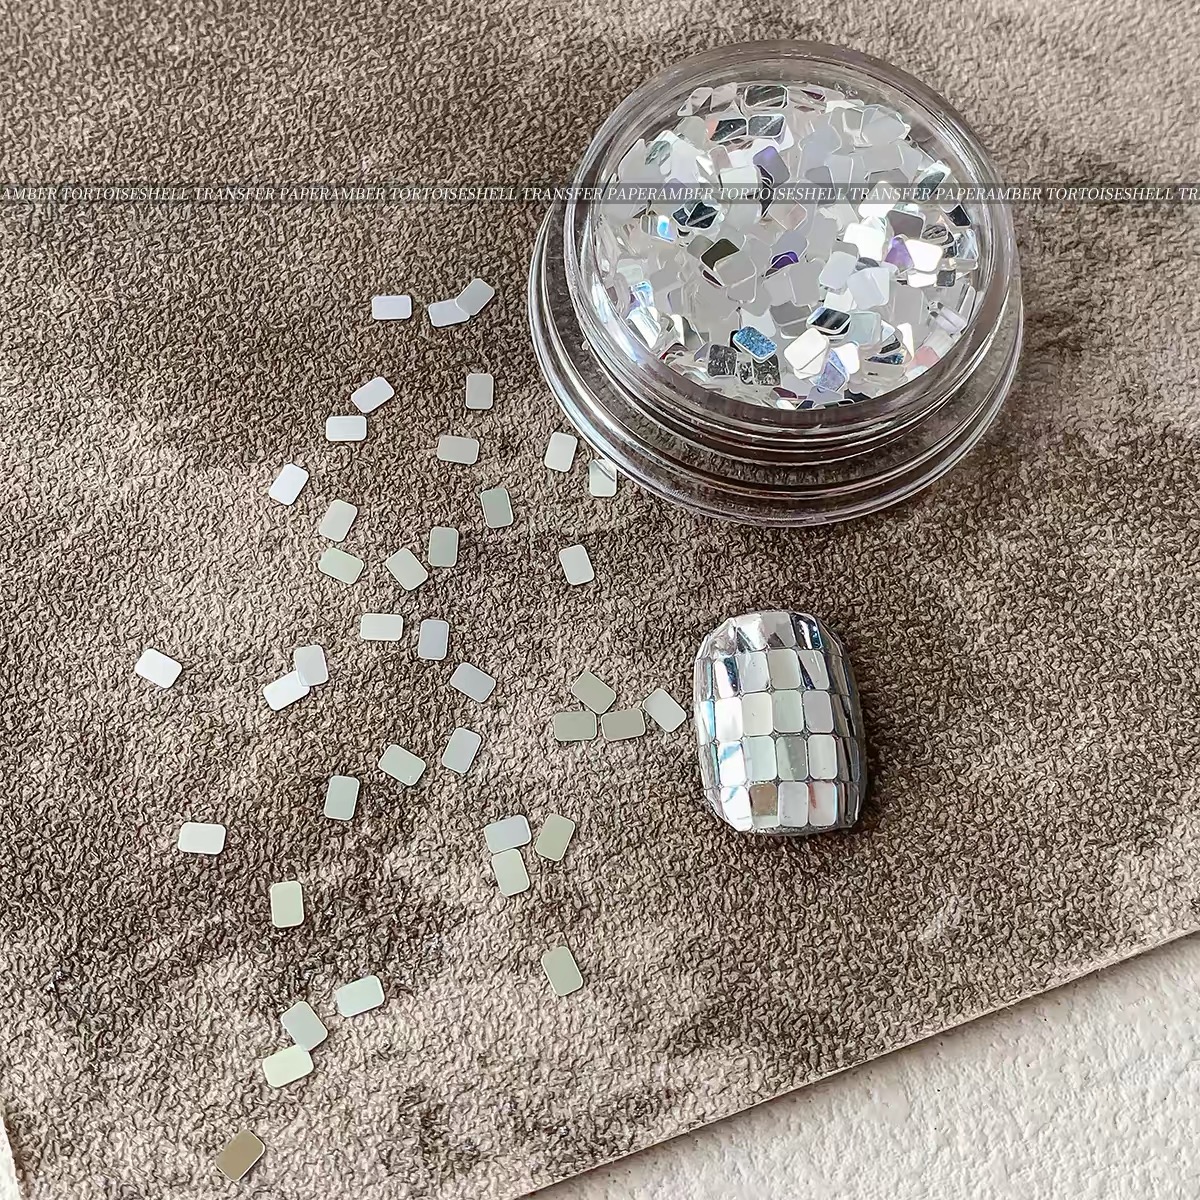
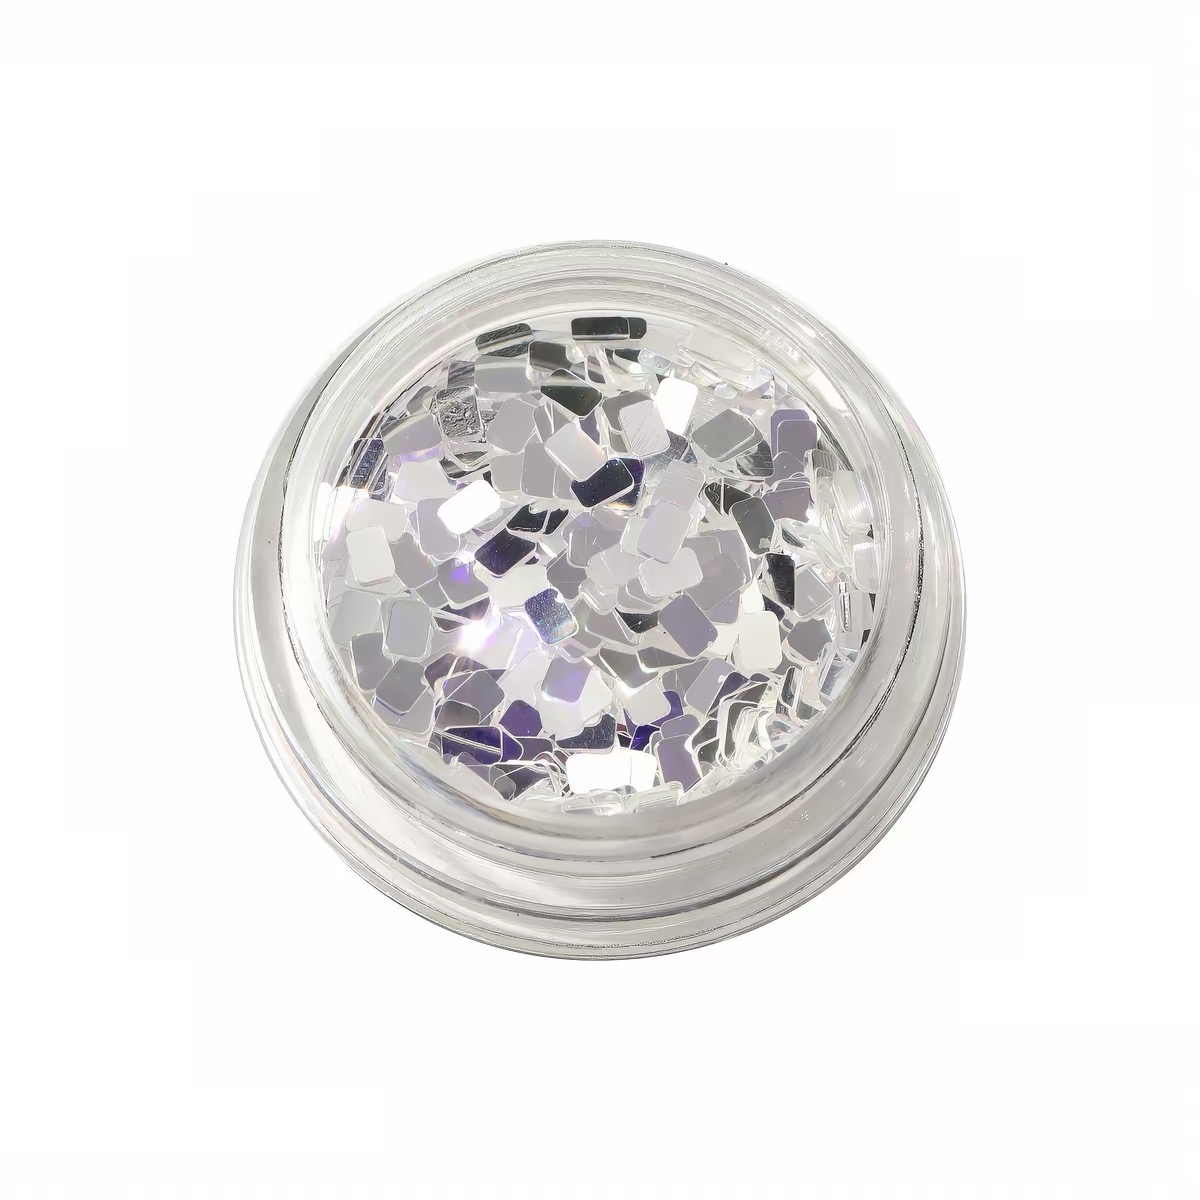
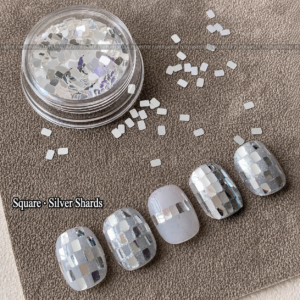
Hello everyone, I am Amia, the founder of Artmiss, your premiere destination and global nail mart. I am super excited to present our ultra-chic Square Silver Sequin Glitter Flakes! These mirror-finish metallic rectangular pieces make creating trendy disco grid patterns, mosaic tile accents, or sleek central stripe lines effortless while keeping a smooth, ultra-flat nail shape.
Additionally, these lightweight metallic square sheets lie flat against the nail bed, ensuring a seamless encapsulation under clear hard gel without sharp corners lifting up. Connect with our creative community through our official social media accounts for step-by-step manicuring guides and daily design inspiration:
- YouTube Channel: Watch Tutorials on YouTube
- Instagram Page: Follow Us on Instagram
- TikTok Account: Watch Quick Tips on TikTok
Product Specifications & Features
| Product Attribute | Specification Detail |
|---|---|
| Product Name | Square Silver Sequin Glitter Flakes |
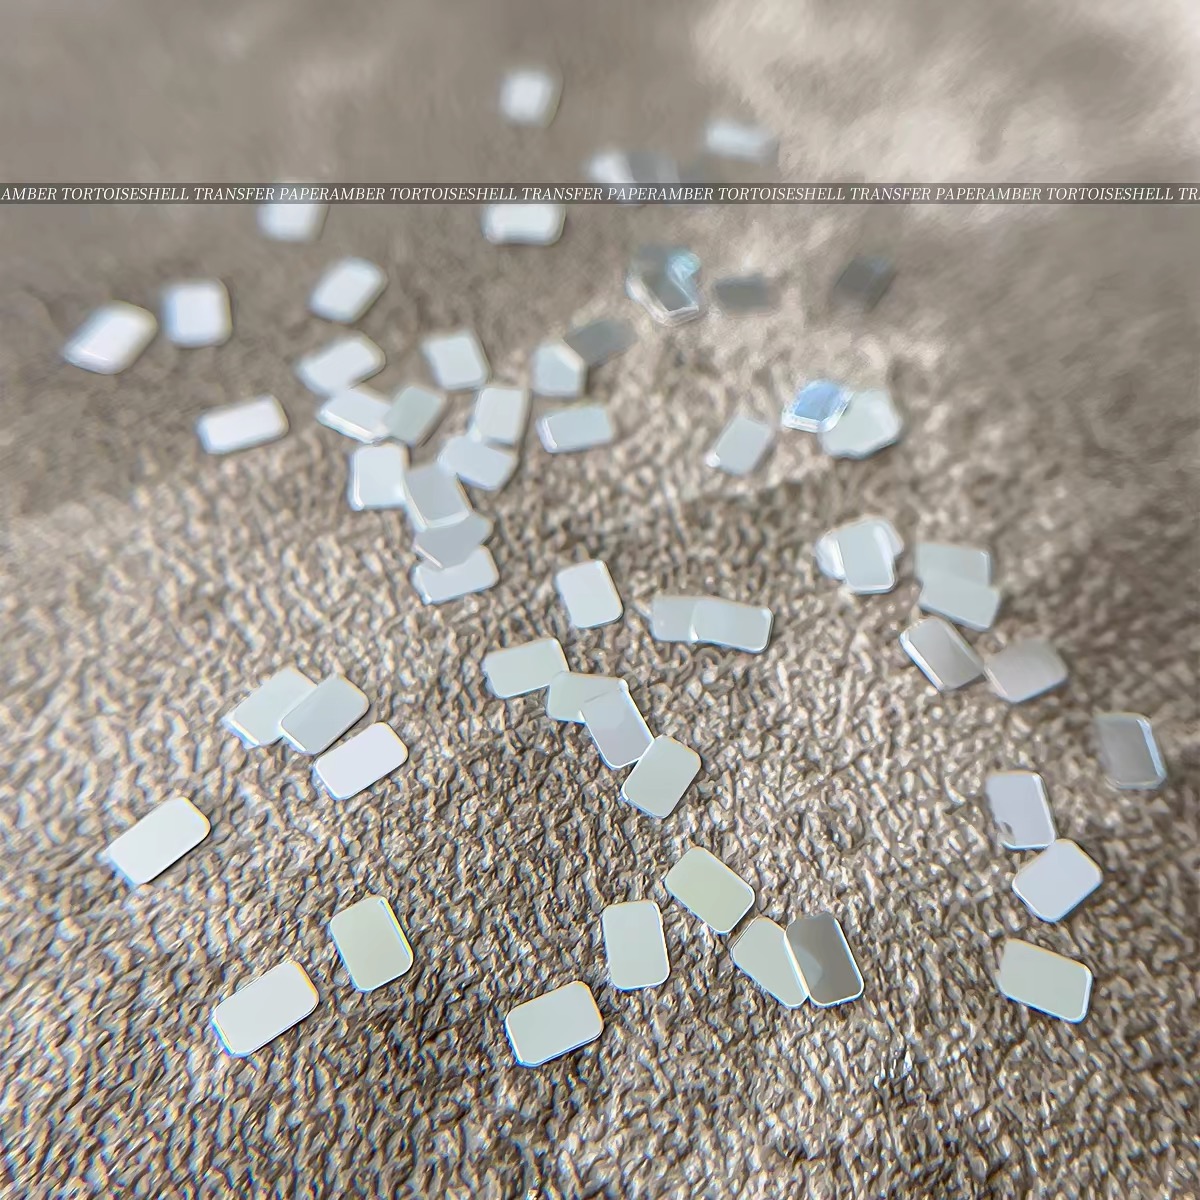
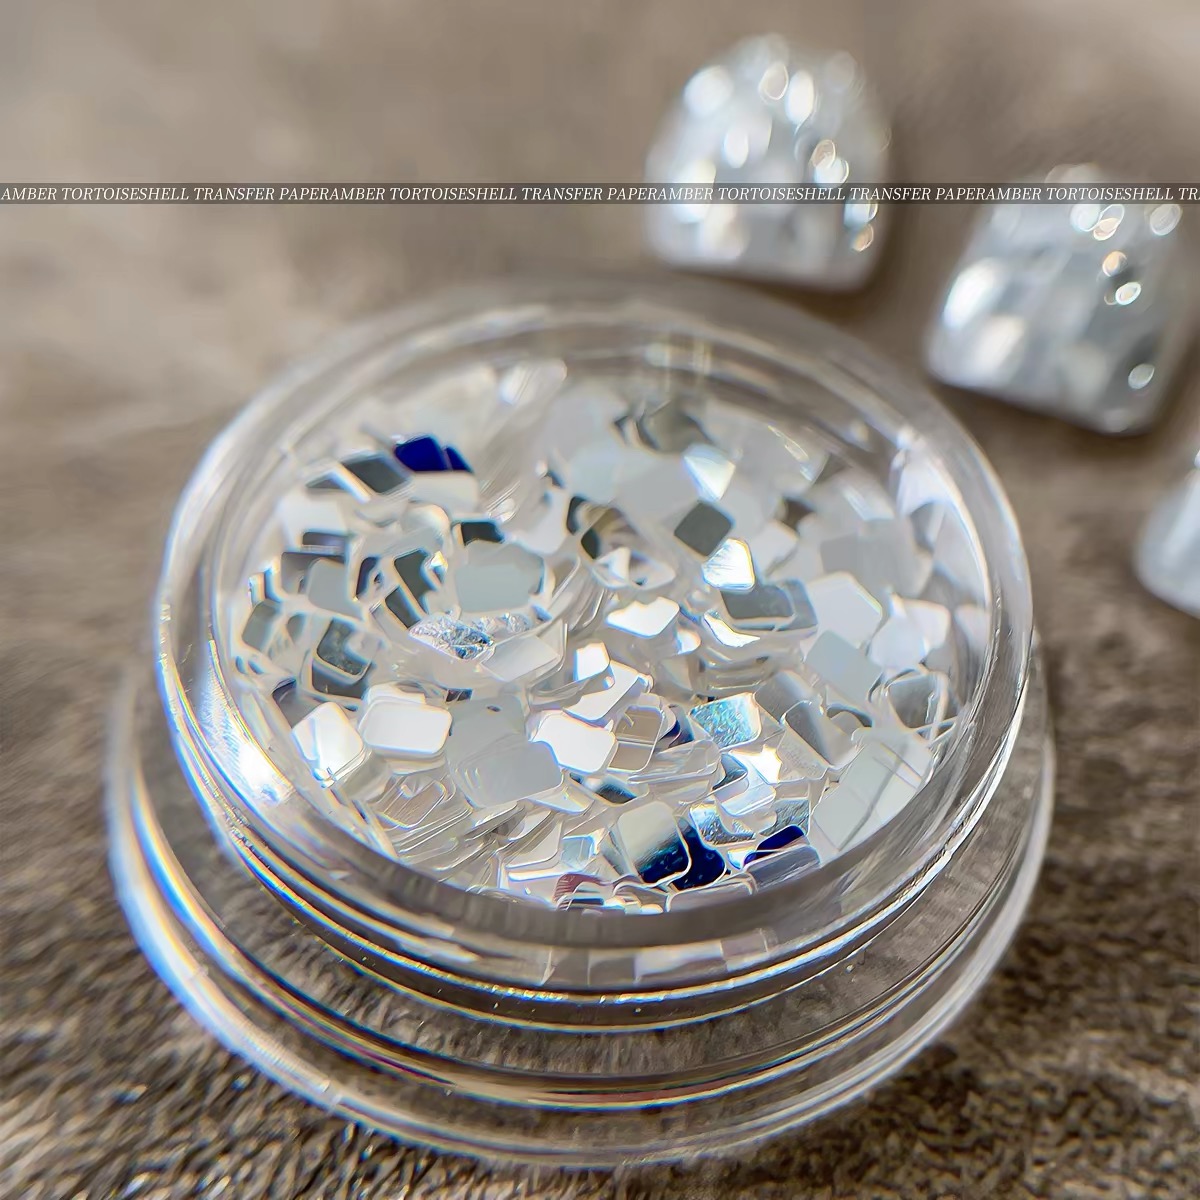
| Shape & Finish | Mini Rounded Rectangles / Metallic Silver Mirror Surface |
| Packaging Type | Clear Acrylic Storage Jar |
| Design Compatibility | Disco Mirror Ball, Checkerboard Mosaic, Geometric Stripes & Full Cover Overlay |
2. Step-by-Step Application Guide
To master complete nail art application techniques, explore our comprehensive Complete Nail Art Process Guide on our platform. In addition, following these structured steps guarantees a flat, high-shine finish every single time.
- Step 1: Base Preparation & Cure
First, prep the natural nail plate properly and apply a smooth layer of base gel. Flash cure under a UV/LED light to establish a clean foundation.
- Step 2: Thin Base Slip Coat Placement
Second, apply a thin coat of clear base gel or builder gel without curing. While the layer remains wet, carefully place each square silver sequin using silicone tools or fine tweezers to arrange your mosaic grid, stripe band, or full disco pattern.
- Step 3: Full Structure Overlay
Third, cure the initial sequin placement under the lamp. Next, scoop an adequate amount of structure gel or clear hard gel to cover all metal edges completely, protecting the sequence and balancing the surface apex.
- Step 4: Self-Leveling Apex Alignment
Fourth, invert the finger upside down for several seconds to allow the structure gel to self-level naturally over the sequins. Turn back over, double-check your smooth nail shape, and perform a full cure cycle under your lamp.
3. Recommended Professional Gels for Best Results
Achieving a mirror-smooth disco finish requires high-performance formulas that seamlessly encapsulate flat sequins. At Artmiss, your trusted nail mart, we recommend combining these top-tier formulas:
- Jjiang Mochi Building Base Gel:
Explore Jjiang Base Gel (50g).
This high-elasticity base gel provides superior grip on natural nails. Furthermore, its smooth self-leveling viscosity locks silver sequins into place without slipping or creating awkward air bubbles. - NailLove Professional 2-in-1 Building Base Gel:
Shop NailLove 2-in-1 Gel.
Engineered for speed and strength, this dual-function gel acts as both a base layer and structure builder, establishing a strong, resilient nail shape for heavy sequin art. - MODING C9 Water Light Top Coat:
Get MODING C9 Top Coat.
A non-wipe top coat engineered to provide maximum optical clarity. In addition, it fully encapsulates metallic square sequins while enhancing 360-degree light transparency so no uncured spots remain beneath the reflective sheets. - Pudding Gel & Ombre Painting Gel:
Buy Pudding Painting Gel.
A thick, zero-flow art gel perfect for painting sharp borders, French lines, or background contrast shades underneath your metallic silver sequin grids.
Please remember that every formula recommended above is a specialized light-curing gel formulation rather than standard glue. Relying on professional UV/LED gel products guarantees proper curing beneath opaque metallic sequins.
4. Important Tips, Curing Lamps & Store Policies
Because metallic sequins can occasionally leave subtle edge ridges on the nail plate, correct structural building steps prevent snagging on clothing or hair.
- Structure-First Encapsulation Technique:
Always place your square metallic sequins prior to building your structural apex. Following sequin placement with a self-leveling clear hard gel layer ensures a completely glass-like, smooth surface.
- Curing & Inhibiting Layer Removal:
Cure under your UV/LED lamp for a minimum of 60 seconds after encapsulating. Once fully cured, wipe away any residual sticky inhibition layer using cleanser prior to final buffing or top coat application.
- Recommended Curing Lamp Gear:
To prevent under-cured gel underneath reflective silver foils, always use professional curing equipment. Choose our heavy-duty SUNUV SUNone Nail UV Lamp for fast salon processing. Alternatively, select the No Dark Hands Smart Rechargeable Foldable Lamp to prevent skin tanning while delivering thorough light penetration.
- International Shipping Timeline:
Because all orders ship internationally, standard express transit takes approximately 7 to 12 business days from order placement to doorstep delivery.
- Website & Store Support Policies:
For complete information regarding our store Terms, Refund & Return Policy, and Privacy Protocols, please refer directly to the links in our website footer.

Reviews
There are no reviews yet.