
1. Amia’s Personal Recommendation
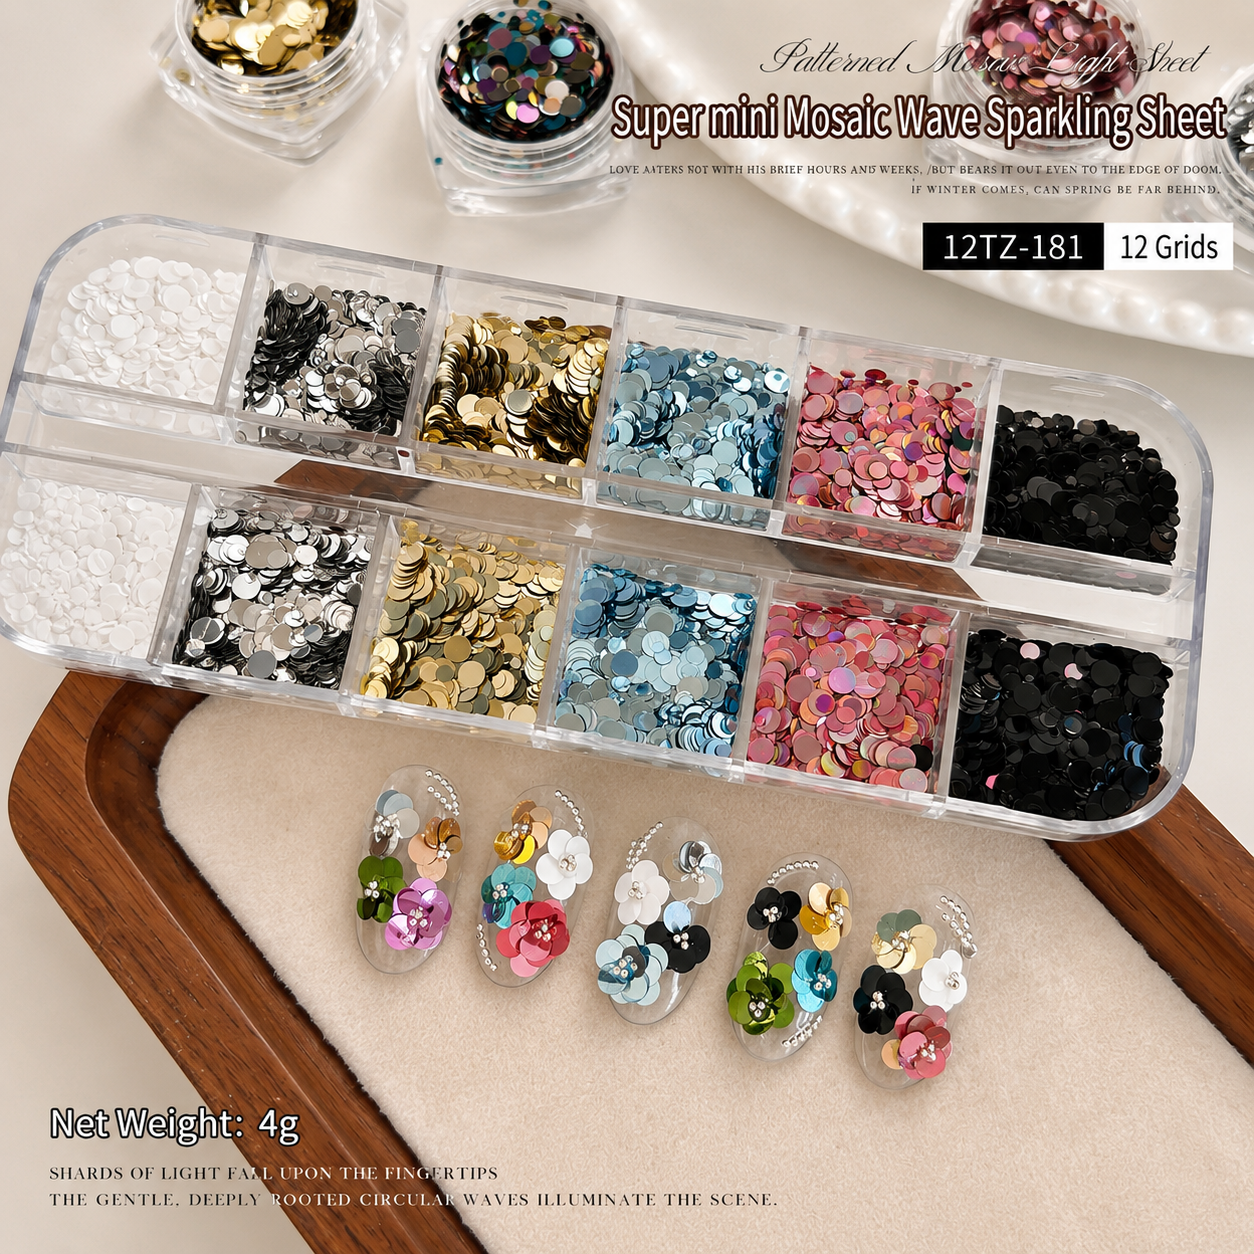
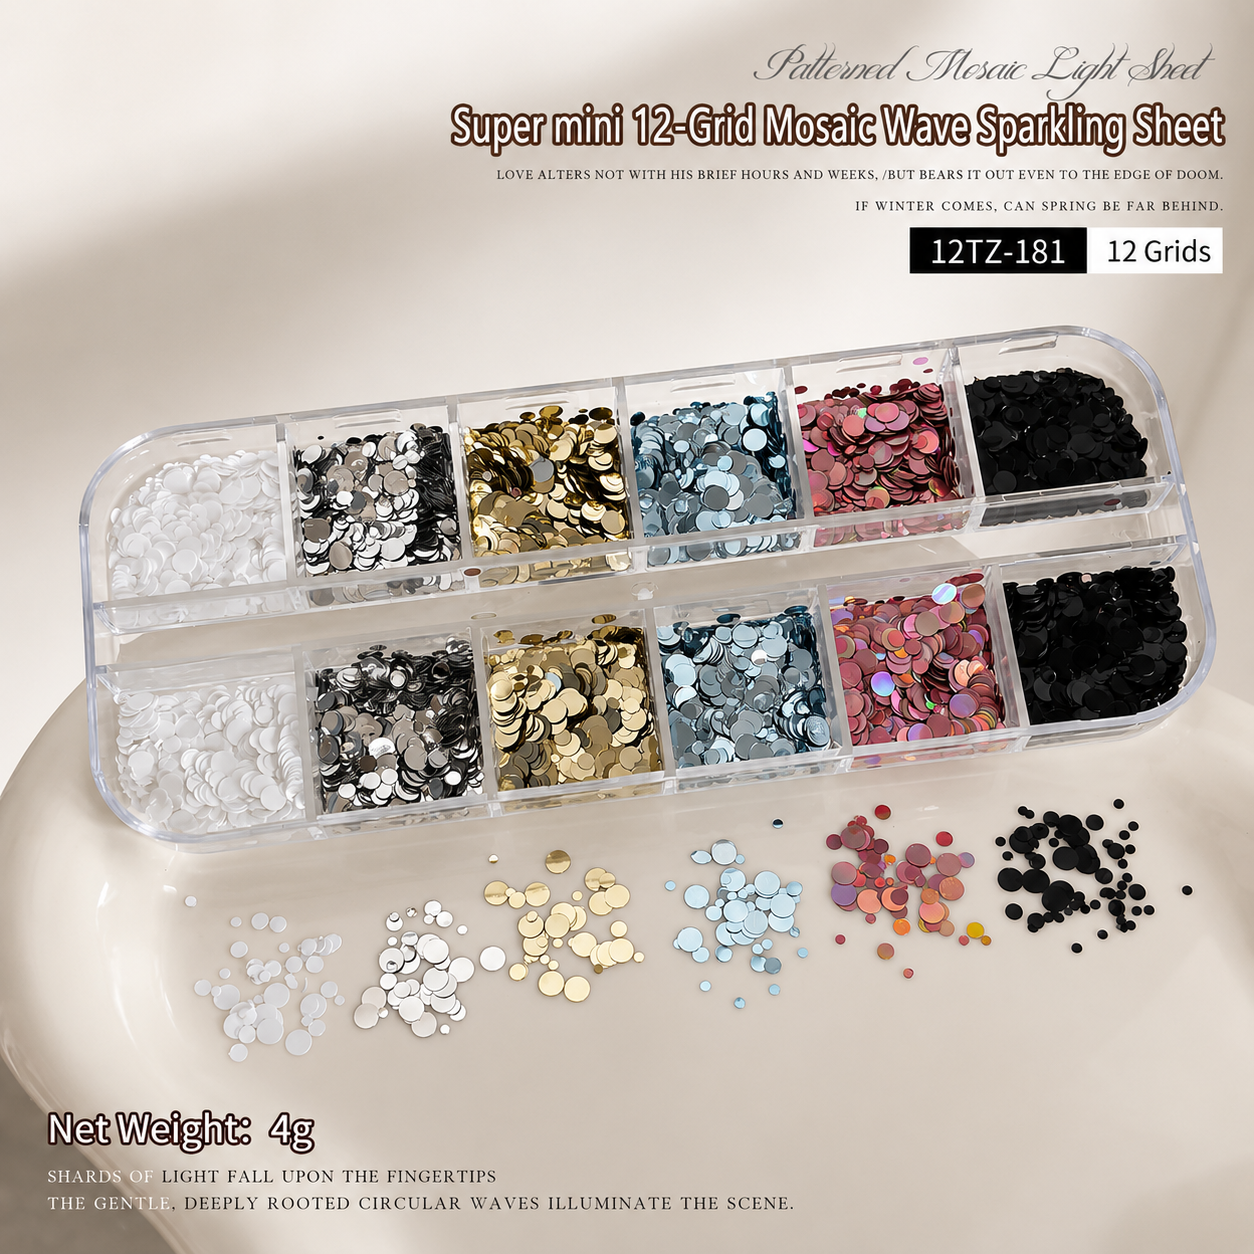
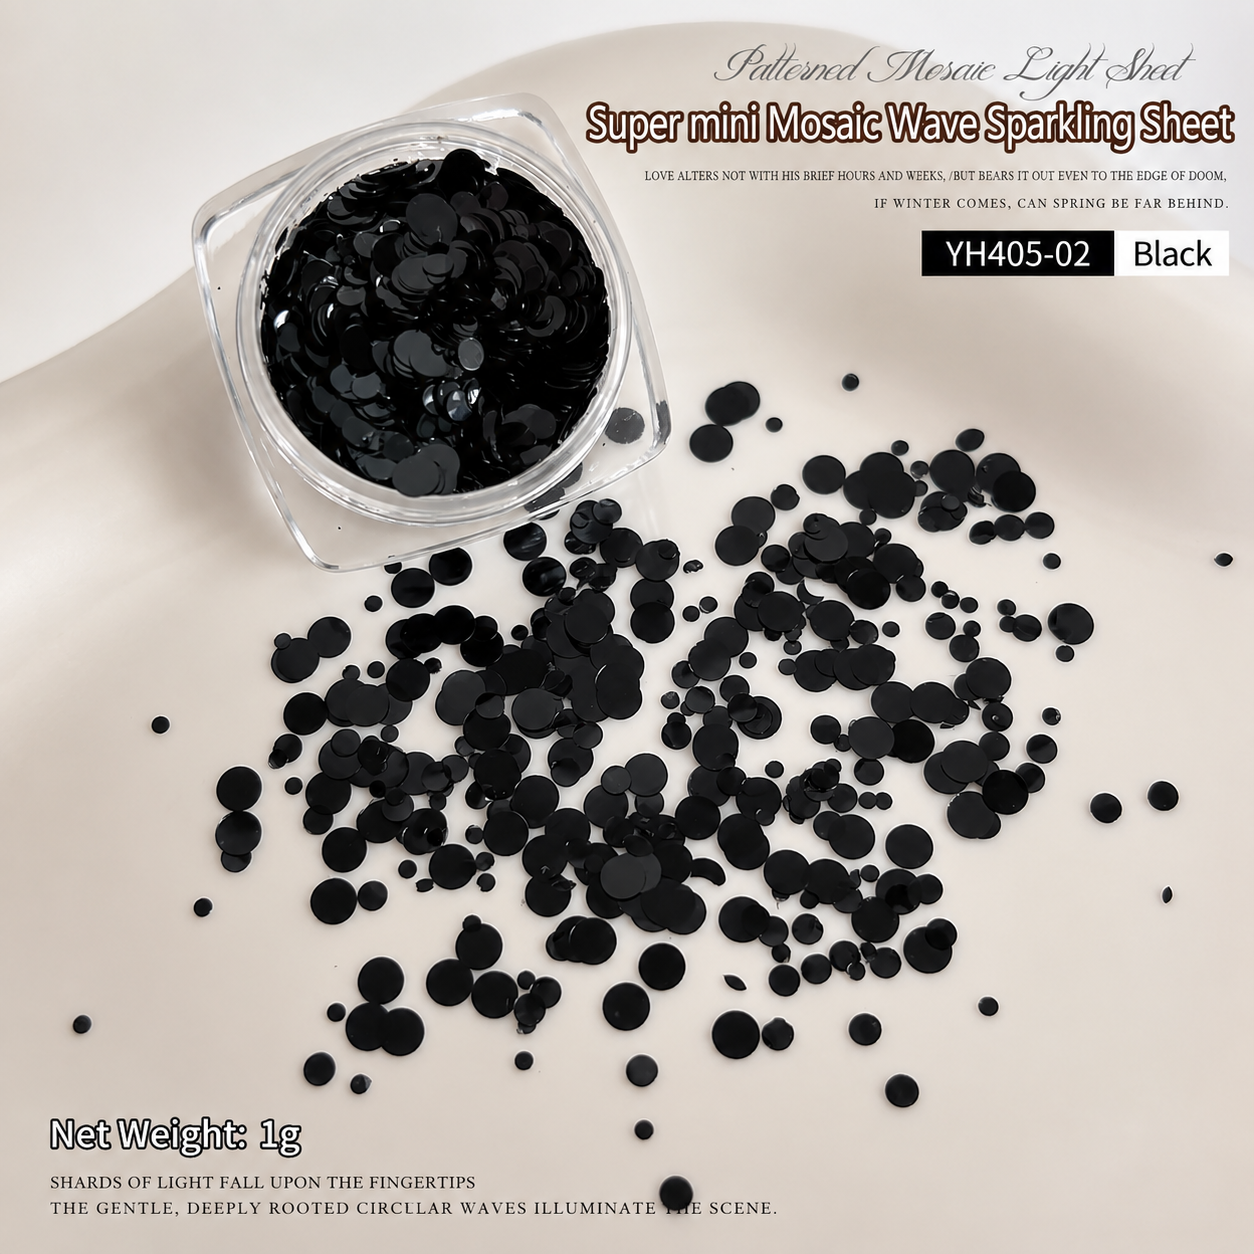
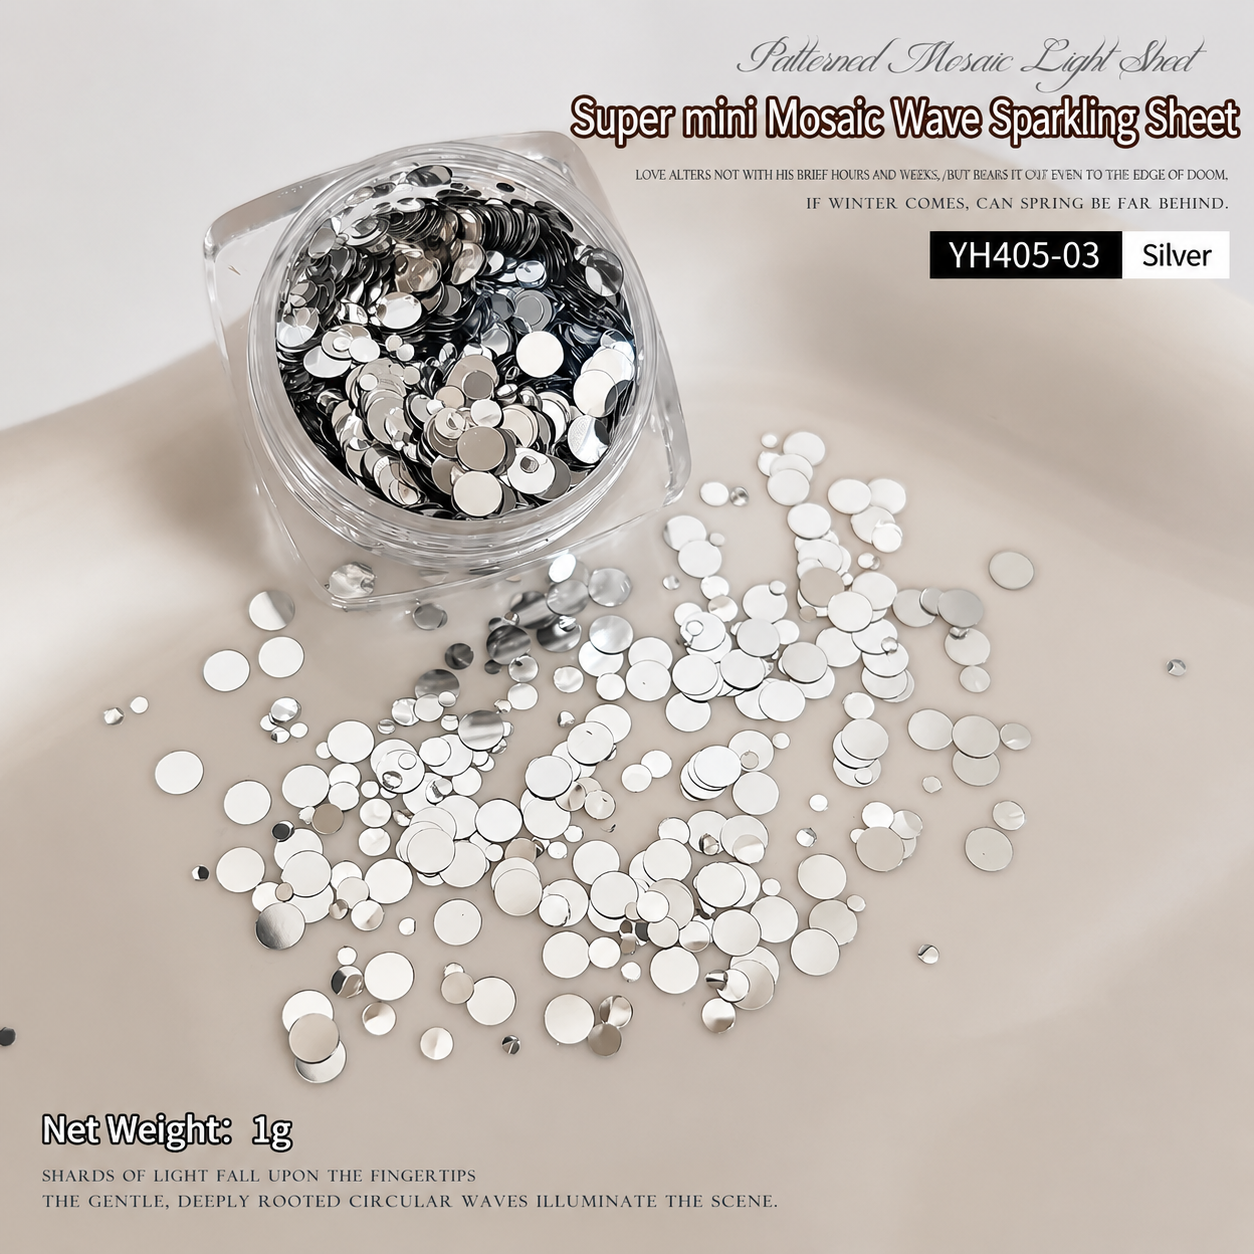
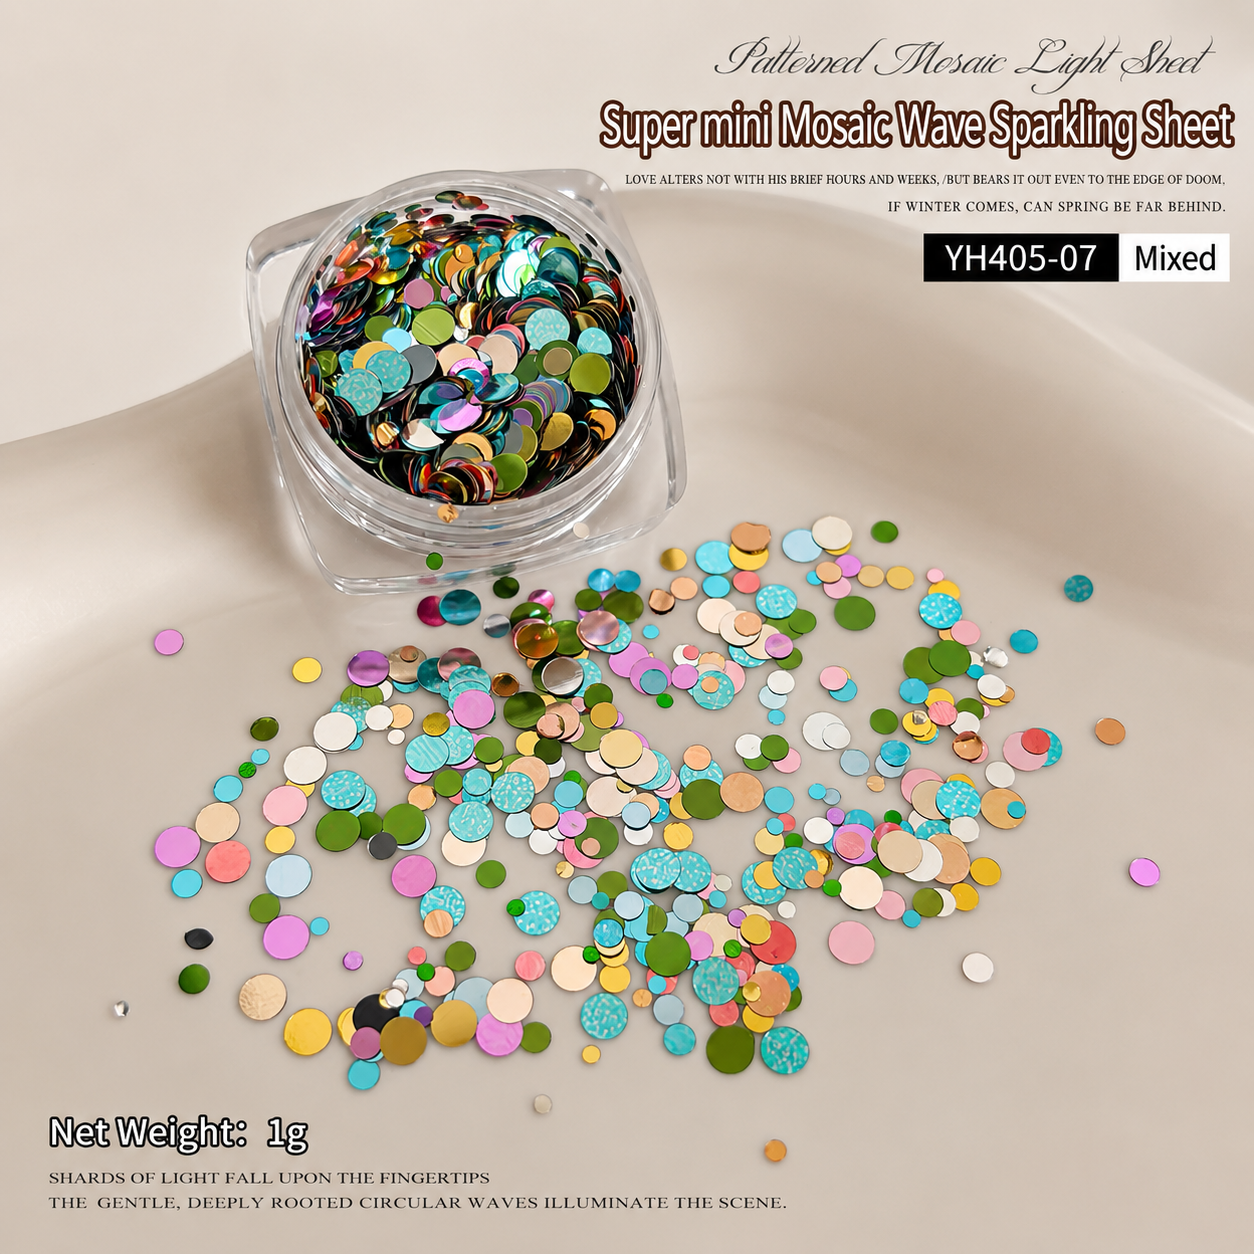
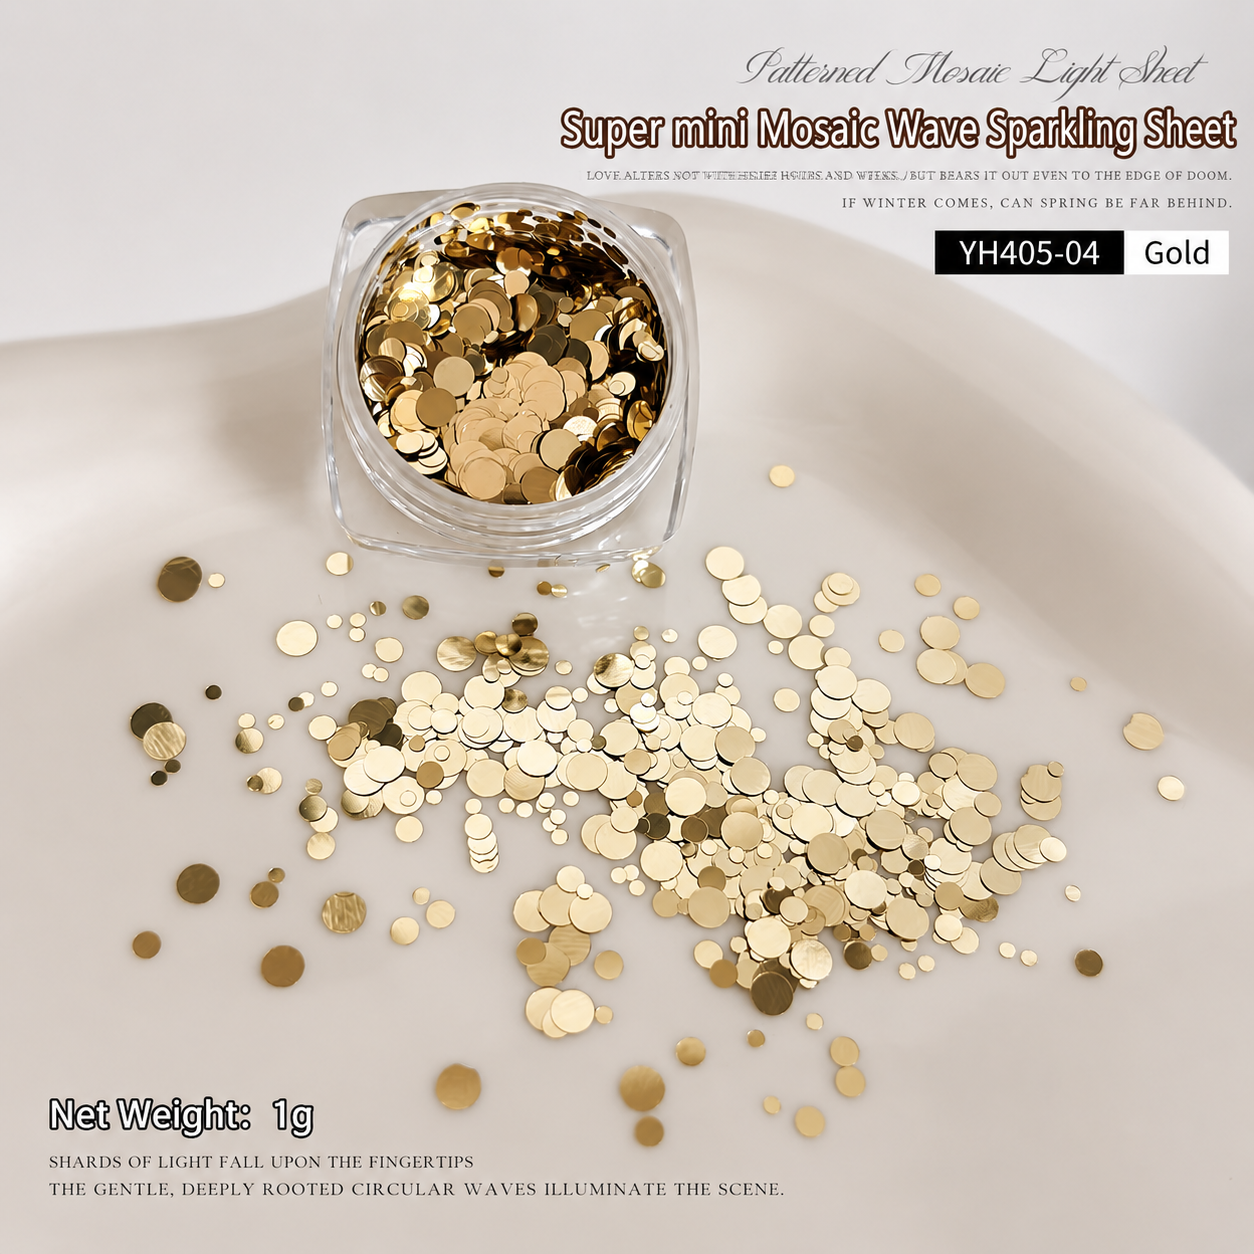
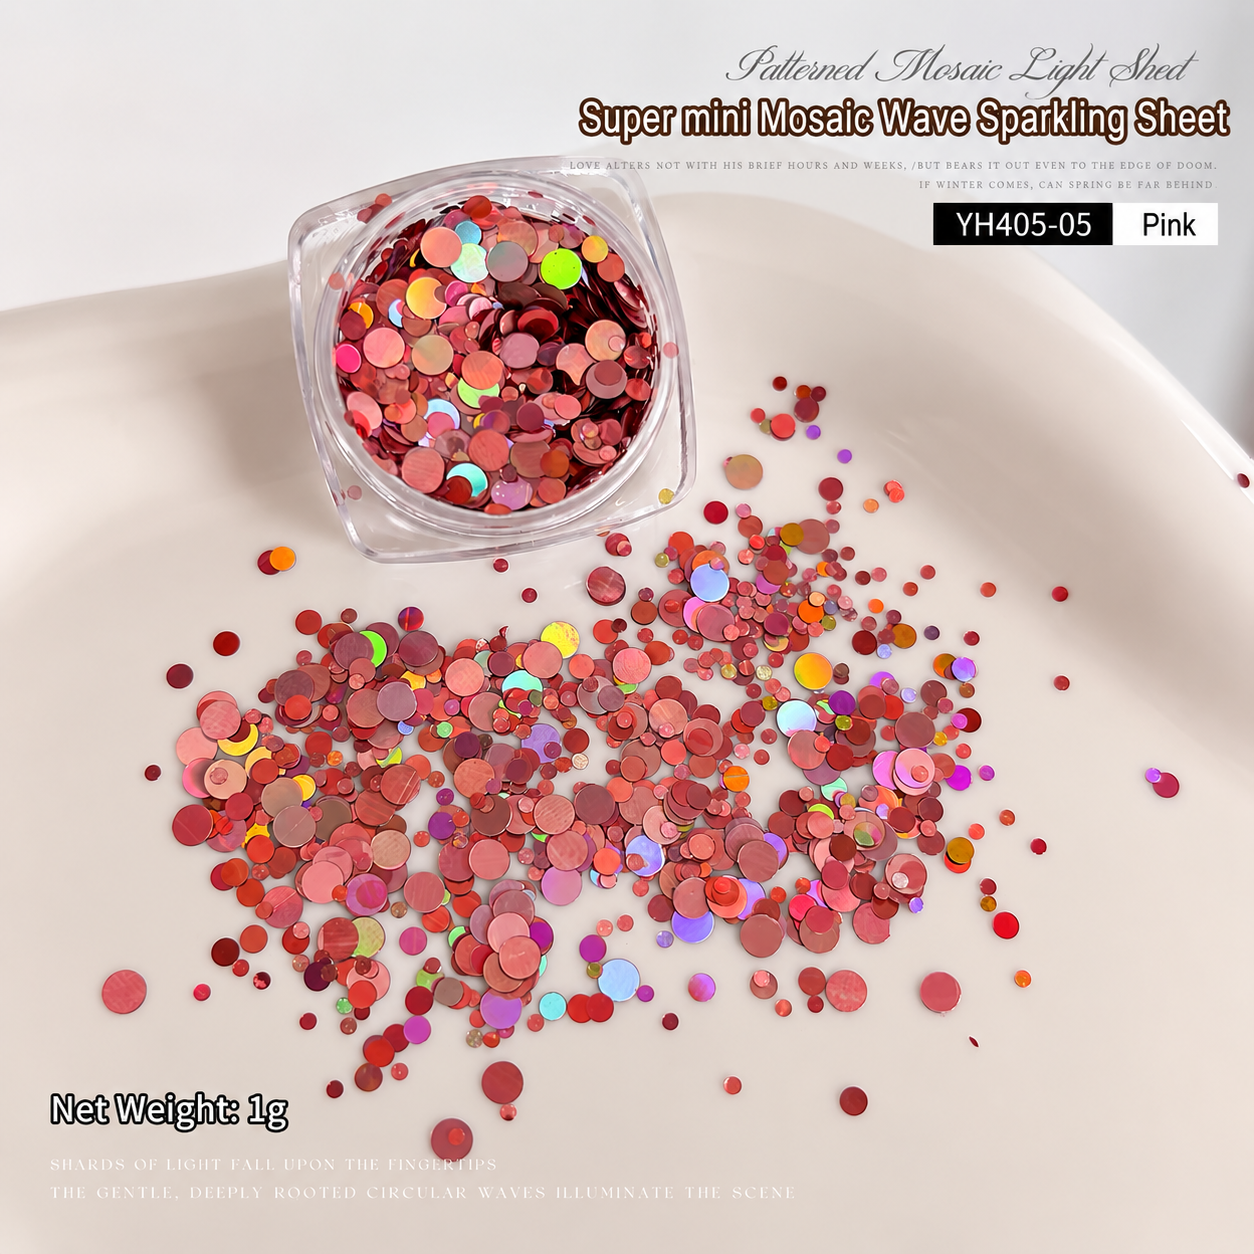
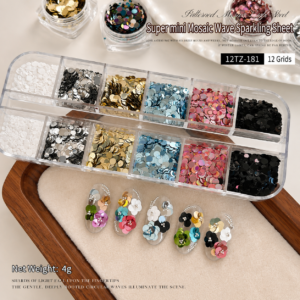
Hello everyone, I am Amia, the manager behind Artmiss, your dedicated global nail mart platform. I am thrilled to introduce our Super Mini Mosaic Wave Sparkling Sheet collection. These ultra-fine round sequin dots capture soft light effortlessly, helping you craft an immaculate, refined nail shape for any custom manicure project.
Additionally, our high-shine glitter sequins seamlessly adhere under clear hard gel layer formulations without shifting.
Product Specifications & Variants
| Product Code | Color / Style | Packaging Specification | Net Weight |
|---|---|---|---|
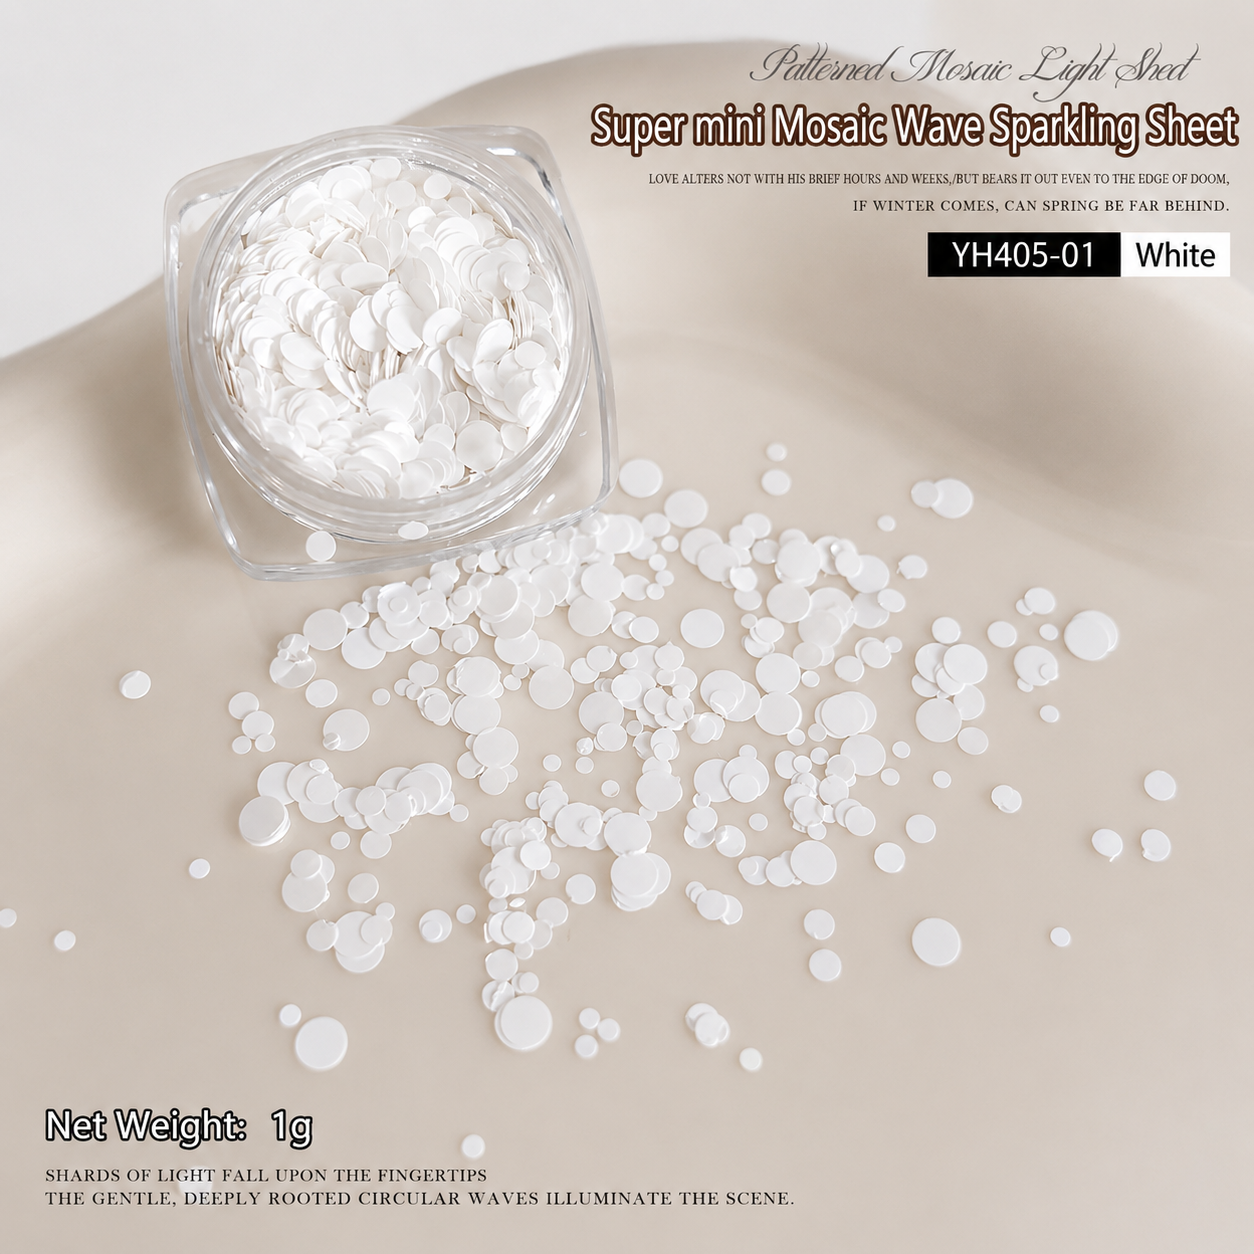
| YH405-01 | Pure White Mosaic Wave | Single Jar | 1g |
| YH405-02 | Glossy Black Mosaic Wave | Single Jar | 1g |
| YH405-03 | Metallic Silver Mosaic Wave | Single Jar | 1g |
| YH405-04 | Rich Gold Mosaic Wave | Single Jar | 1g |
| YH405-05 | Iridescent Pink Mosaic Wave | Single Jar | 1g |
| YH405-06 | Ocean Blue Mosaic Wave | Single Jar | 1g |
| YH405-07 | Multicolor Mixed Dots | Single Jar | 1g |
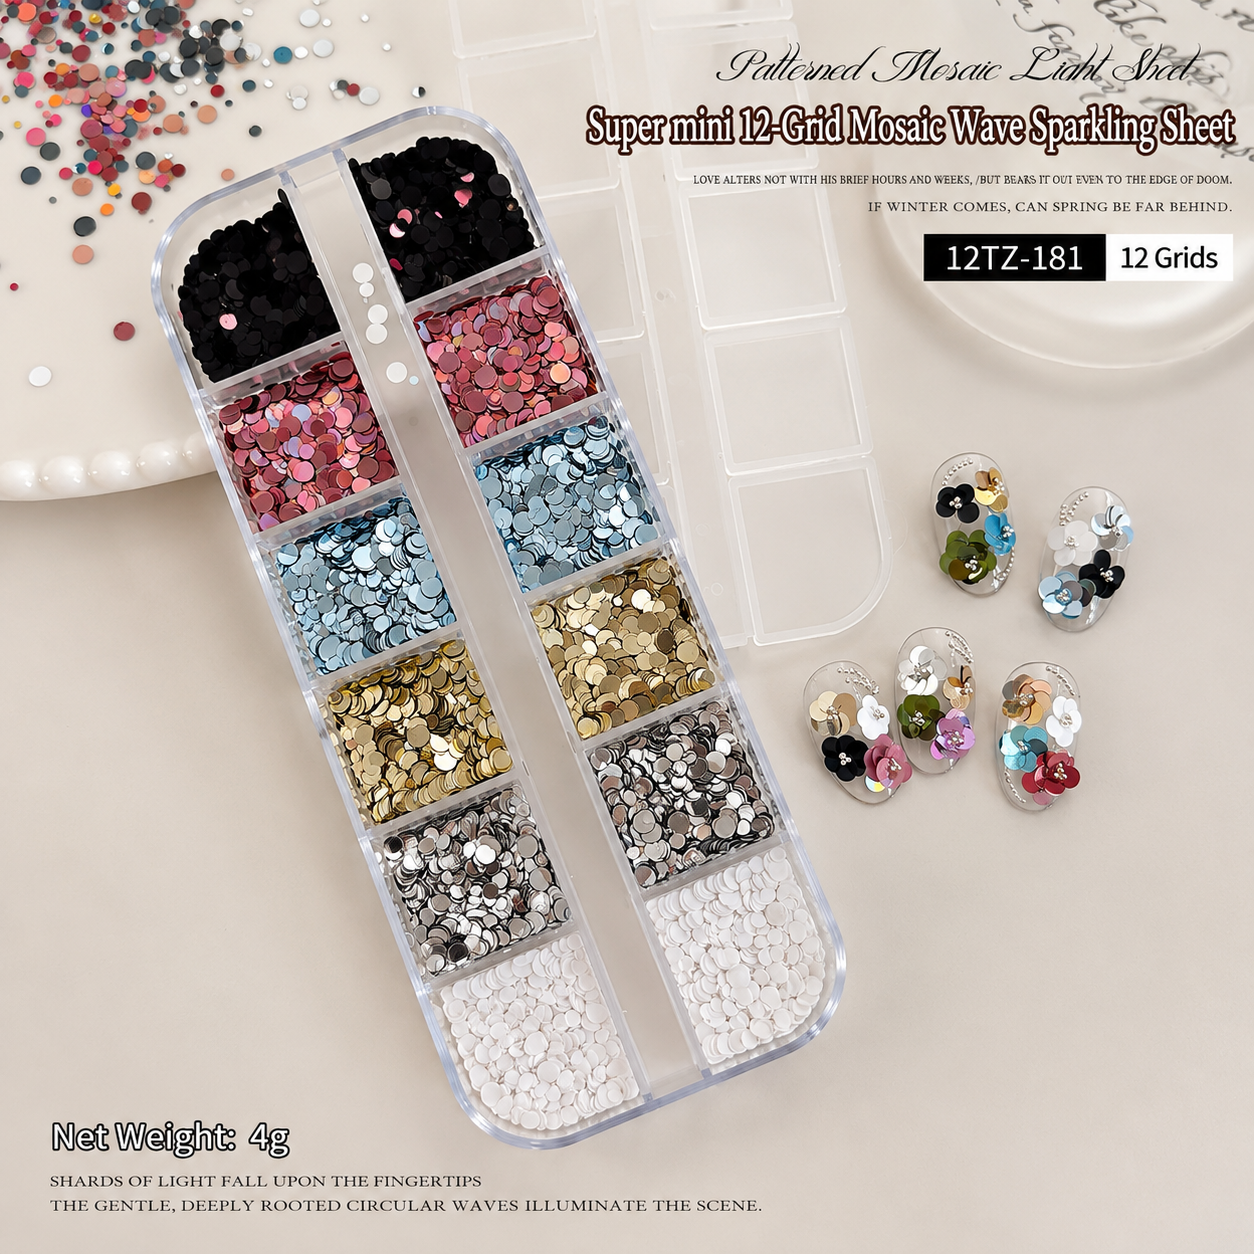
| 12TZ-181 | Full Set Assorted Box | 12-Grid Case | 4g Total |
2. Step-by-Step Application Guide
To master the full routine, feel free to read our Complete Nail Art Process Guide on our platform. Moreover, following a structured workflow guarantees smooth results every single time.
- Step 1: Prep & Base Coat Application
First, cleanse the natural nail plate thoroughly and apply your preferred base gel evenly. Curing under an LED lamp establishes strong adhesion for subsequent layers.
- Step 2: Thin Layer Placement
Second, spread a thin layer of clear builder gel or flexible hard gel across the surface. While wet, arrange the mini mosaic sparkling sheets into flower motifs or geometric patterns.
- Step 3: Structure Builder Layer
Third, scoop an adequate amount of builder gel to cover the sequins completely. This builds a smooth apex and reinforces your desired nail shape.
- Step 4: Self-Leveling & Fixing
Fourth, turn the finger upside down for a few seconds to let the builder gel self-level properly. Cure immediately to lock the sparkling sheets securely under a glossy structure.
3. Recommended Professional Gels for Best Results
Achieving a flawless surface requires high-quality formulas that fully encapsulate sequins. At Artmiss, your premier nail mart, we recommend the following professional products:
- Jjiang Mochi Building Base Gel:
Explore Jjiang Base Gel (50g).
This versatile base gel offers excellent elasticity and smooth self-leveling capabilities. Furthermore, its rich viscosity helps seal loose glitter sequins seamlessly, maintaining structural integrity without added bulk. - NailLove Professional 2-in-1 Building Base Gel:
Shop NailLove 2-in-1 Gel.
Combining base coat flexibility with builder strength, this formula simplifies overlay steps while shaping a stable, graceful nail shape for long-lasting wear. - MODING C9 Water Light Top Coat:
Get MODING C9 Top Coat.
A premium non-wipe top coat that delivers a mirror-like sheen. In addition, it protects underlying artwork from scratches, keeping your mini wave sequins brilliant for weeks. - Pudding Gel & Ombre Painting Gel:
Buy Pudding Painting Gel.
Highly pigmented art gel designed for intricate floral details and smooth color gradients. Its non-flowing texture allows precise linework around mini sequins.
Notice that every formula listed above is a light-curing gel formulation rather than a traditional glue. Utilizing genuine UV/LED gel layers ensures complete curing and prevents tacky residues underneath thick decorations.
4. Important Tips, Curing Lamps & Store Policies
Because raised sequins can sometimes leave slight texture on the surface, proper encapsulation steps remain vital for smooth finishes.
- Smoothing Texture Before Final Curing:
Place mini sequins before applying your structure layer or clear hard gel. Afterward, perform a self-leveling overlay step to eliminate all rough edges.
- Curing & Wiping Sticky Layers:
Always cure under a high-power lamp for at least 60 seconds. Once fully cured, wipe away any residual sticky inhibition layer using cleanser before final buffing or top coat application.
- Recommended UV/LED Curing Lamps:
To avoid uncured pockets around dense sequins, rely on professional-grade curing lamps. Check out the SUNUV SUNone Nail UV Lamp for high-efficiency daily studio use. Alternatively, choose the No Dark Hands Smart Rechargeable Foldable Lamp for portable, uniform curing without skin discoloration.
- International Shipping Timeline:
Because international express transit takes time, average delivery spans approximately 7 to 12 business days from order confirmation to final arrival.
- Customer Policies:
For comprehensive details regarding our purchasing terms, return guidelines, and privacy protections, please consult the dedicated policy links located in our website footer.

Reviews
There are no reviews yet.